How to Food Prep to help you reach your goals
What is food-prep?
To me, food-prep means a couple of things:
Having food prepared ahead of time so that you always have some ready-to-go. To give an example, this could be cooking a large pot of brown rice so that you have some in the fridge ready-to-go at all times.
Always having basic foods and ingredients on-hand such as dried and canned foods so that you are always prepared and never have to run to the store at the last minute because you ran out of something.
Why do food prep?
Below are two good reasons to do food prep along with a brief explanation.
Adherence: The number one key to being successful with any diet is adherence and food prep helps you to be more adherent because by having food prepared ahead of time you are less likely to eat out and stray off your plan. Imagine reaching into the fridge or freezer and grabbing a pre-made and pre-portioned breakfast, lunch, or dinner when you are on the run? Would that not be convenient?
Saves time: Food prep actually saves you time! Instead of making lunch and dinner every single day from scratch why not make two or three lunches at once? When preparing a big meal or baking, why not double or triple the batch so that you have extra leftovers? Cooking and baking in large batches allows you to quickly portion out the leftovers into containers so that you have meals ready-to-go for several days. Think about it, if you already have everything out such as your knife, cutting board, bowls and so forth, it really doesn’t take that much more time to prepare some extra food. You are going to have to clean up whether you make enough food for one meal or five, so why not just clean up once?
What should you consider before starting?
Before you run out to purchase heaps of food I would highly recommend you ask yourself two questions, which are:
Do you have adequate containers to store the food you prep?
Do you have adequate fridge and freezer space for the food you prep?
First, take a look in your fridge and freezer and survey what you have in there. This would be a good time to check expiry dates and throw out anything that looks like it is growing a set of legs. Now that you have cleaned and organized your fridge and freezer you should easily be able to determine how much free space you have for storing your pre-made meals and so forth.
Now let’s look at the container situation. Start by looking at your container supply and decide if you will need to purchase some. If you do require containers you may want to consider a combination of both glass and plastic as they both have some advantages and disadvantages. Clear containers are obviously the best choice as you can quickly see what you have without having to move too many things around. Below I have made a list of some of the pros and cons of both glass and plastic containers.
Plastic containers: (I like the Rubbermaid ones.)
Inexpensive
Fairly indestructible (won’t shatter like glass)
Some of them absorb smells and can stain
Cheaper ones may leach chemicals into your food if overheated
Glass containers:
Don’t get food stains or absorb smells
Can be re-heated over and over
Breakable
Free if using old jars
Getting started
Make a list of your go-to meals and snacks, that is, the meals and snacks that you most commonly consume during the week (this may also be a good time to look up one or two new recipes if you feel you need to change-up some of your meals). Once you have this list written down it’s time to make a shopping list of all the foods and ingredients you will require for your go-to meals.
Note: Keep your shopping list handy (make a copy of it so that you can refer to it often) and survey your current food stock regularly so that you never run out of food. There is nothing worse when preparing to make a meal and then discovering that you are missing an ingredient!
Start cooking or baking in large batches and either store these cooked items alone or make meals with them by portioning them out into individual containers for added convenience.
Below are some extra tips:
Probably one of the most important items to consider having prepped ahead of time is a protein source, as most protein (meat, poultry and fish) takes a considerable amount of time to cook and protein is non-negotiable macronutient! For example, if you like chicken and beef, you will want to have some pre-cooked at all times so that you can quickly make a stir-fry or sandwich.
Having some canned protein such as chicken, tuna, sardines and salmon on-hand can also be great options for when you are in a hurry. Just be aware that most canned items have high amounts of sodium which may be a concern for some.
Other items that are wise to cook ahead of time are things like brown rice and beans as they take a considerable amount of time to cook.
In addition, washing and chopping your vegetables is always a good idea so that they are ready-to-go (for example, I like to have containers of purple cabbage, onions and peppers chopped up).
Of course, let’s not forget about snack-foods such as granola bars, muffins and cookies. When baking, aim to double and triple the batch when possible assuming you have the storage space.
Real-life food-prep examples
Let’s say that one of your go-to meals is BBQ chicken breast with roasted vegetables and another one of your go-to meals is chicken stir-fry. Great! Instead of cooking chicken a second time for the stir-fry, simply add a few extra chicken breasts to the BBQ so that all you have to do is quickly cook-up some vegetables for your stir-fry. Or maybe you like salads? Perfect! Simply add the precooked chicken to your salad and you have another easy meal!
In the photo below is an example of how I cook ground beef. When cooking ground beef why waste time by only cooking half the package? Cook the whole darn thing! In the photo below what I did was cook an entire package of beef in two pans. Cooking in two pans not only makes it easier to drain the fat (if you haven’t read my blog post on how to virtually eliminate all of the fat from any ground meat then check it out HERE) but it also allows for more space to add other ingredients such as onions and peppers as you can see in the photo.
What should you do with precooked beef? Add it to soups, stews, salads, stir-frys, pasta, chilis and so forth.
Keep scrolling down as I have provided several other photo examples of what cooking or baking in large batches looks like. These are real examples from my own kitchen!

Drained ground-beef with onions and peppers.
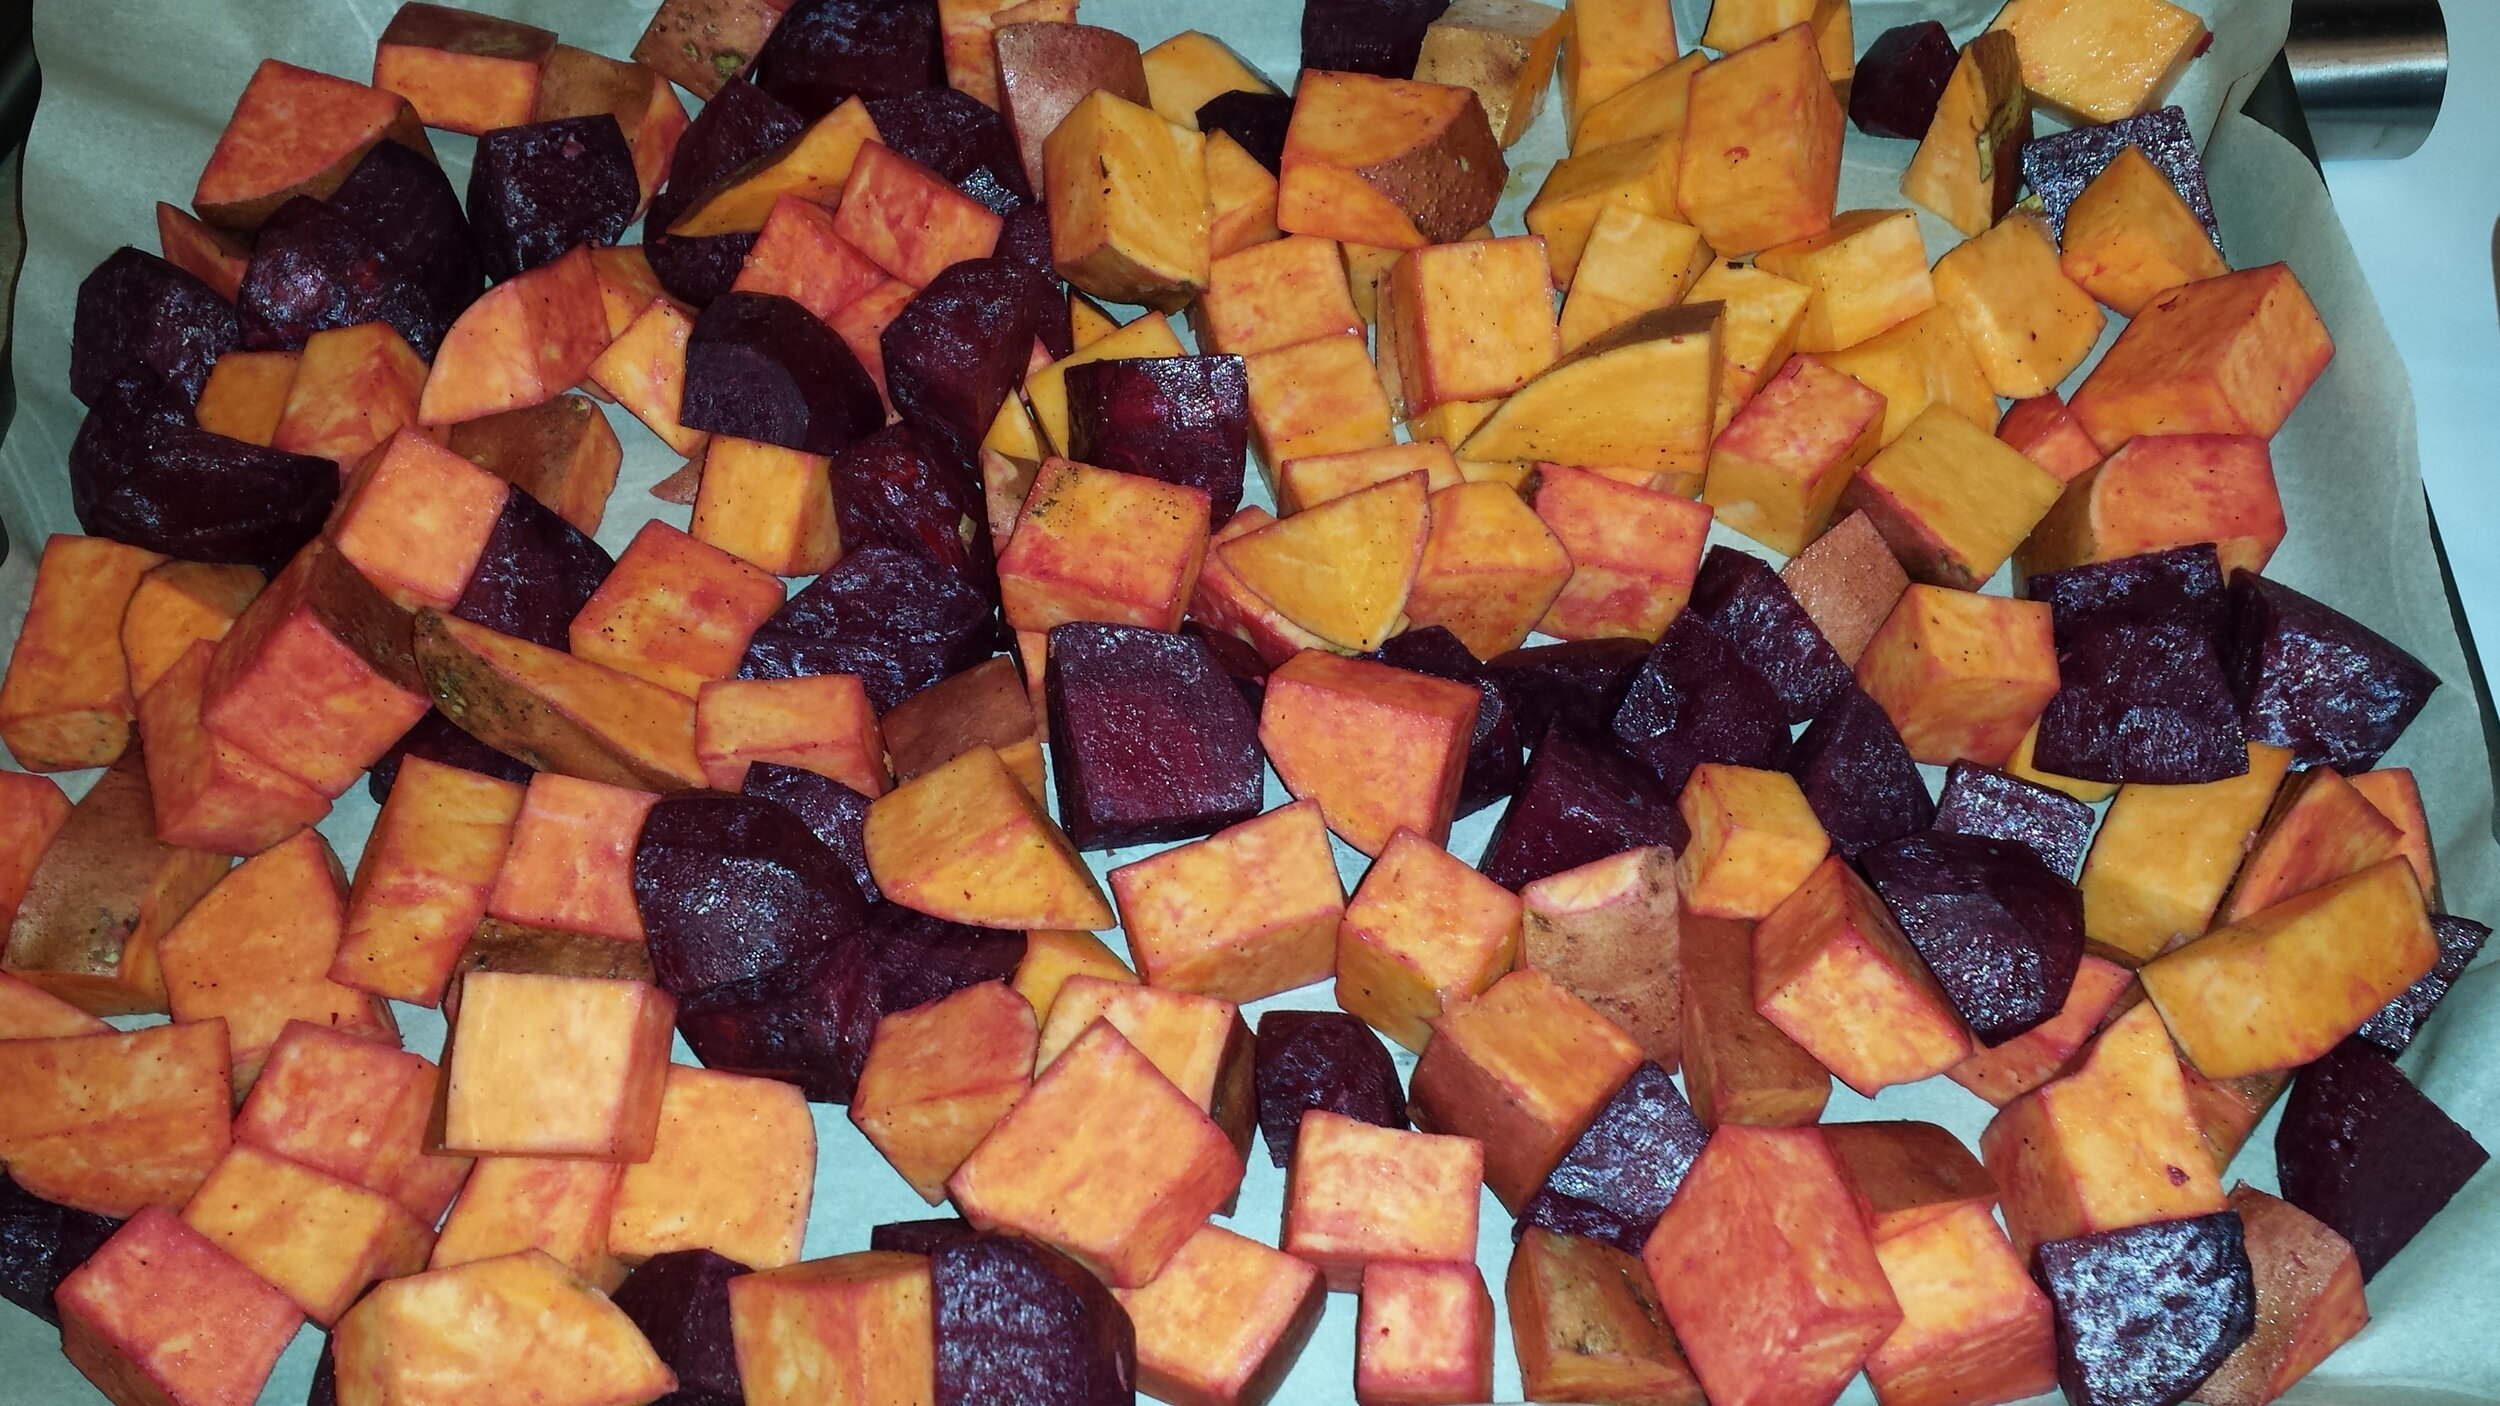
Roasted beets and sweet potato.

Roasted sweet potatoes, diced potatoes and tilapia.

Chopped purple cabbage and carrots.

Roasted potatoes, beets and sweet potatoes.

Roasted acorn squash.

Roasted cauliflower and beets.

Protein and oat bars.
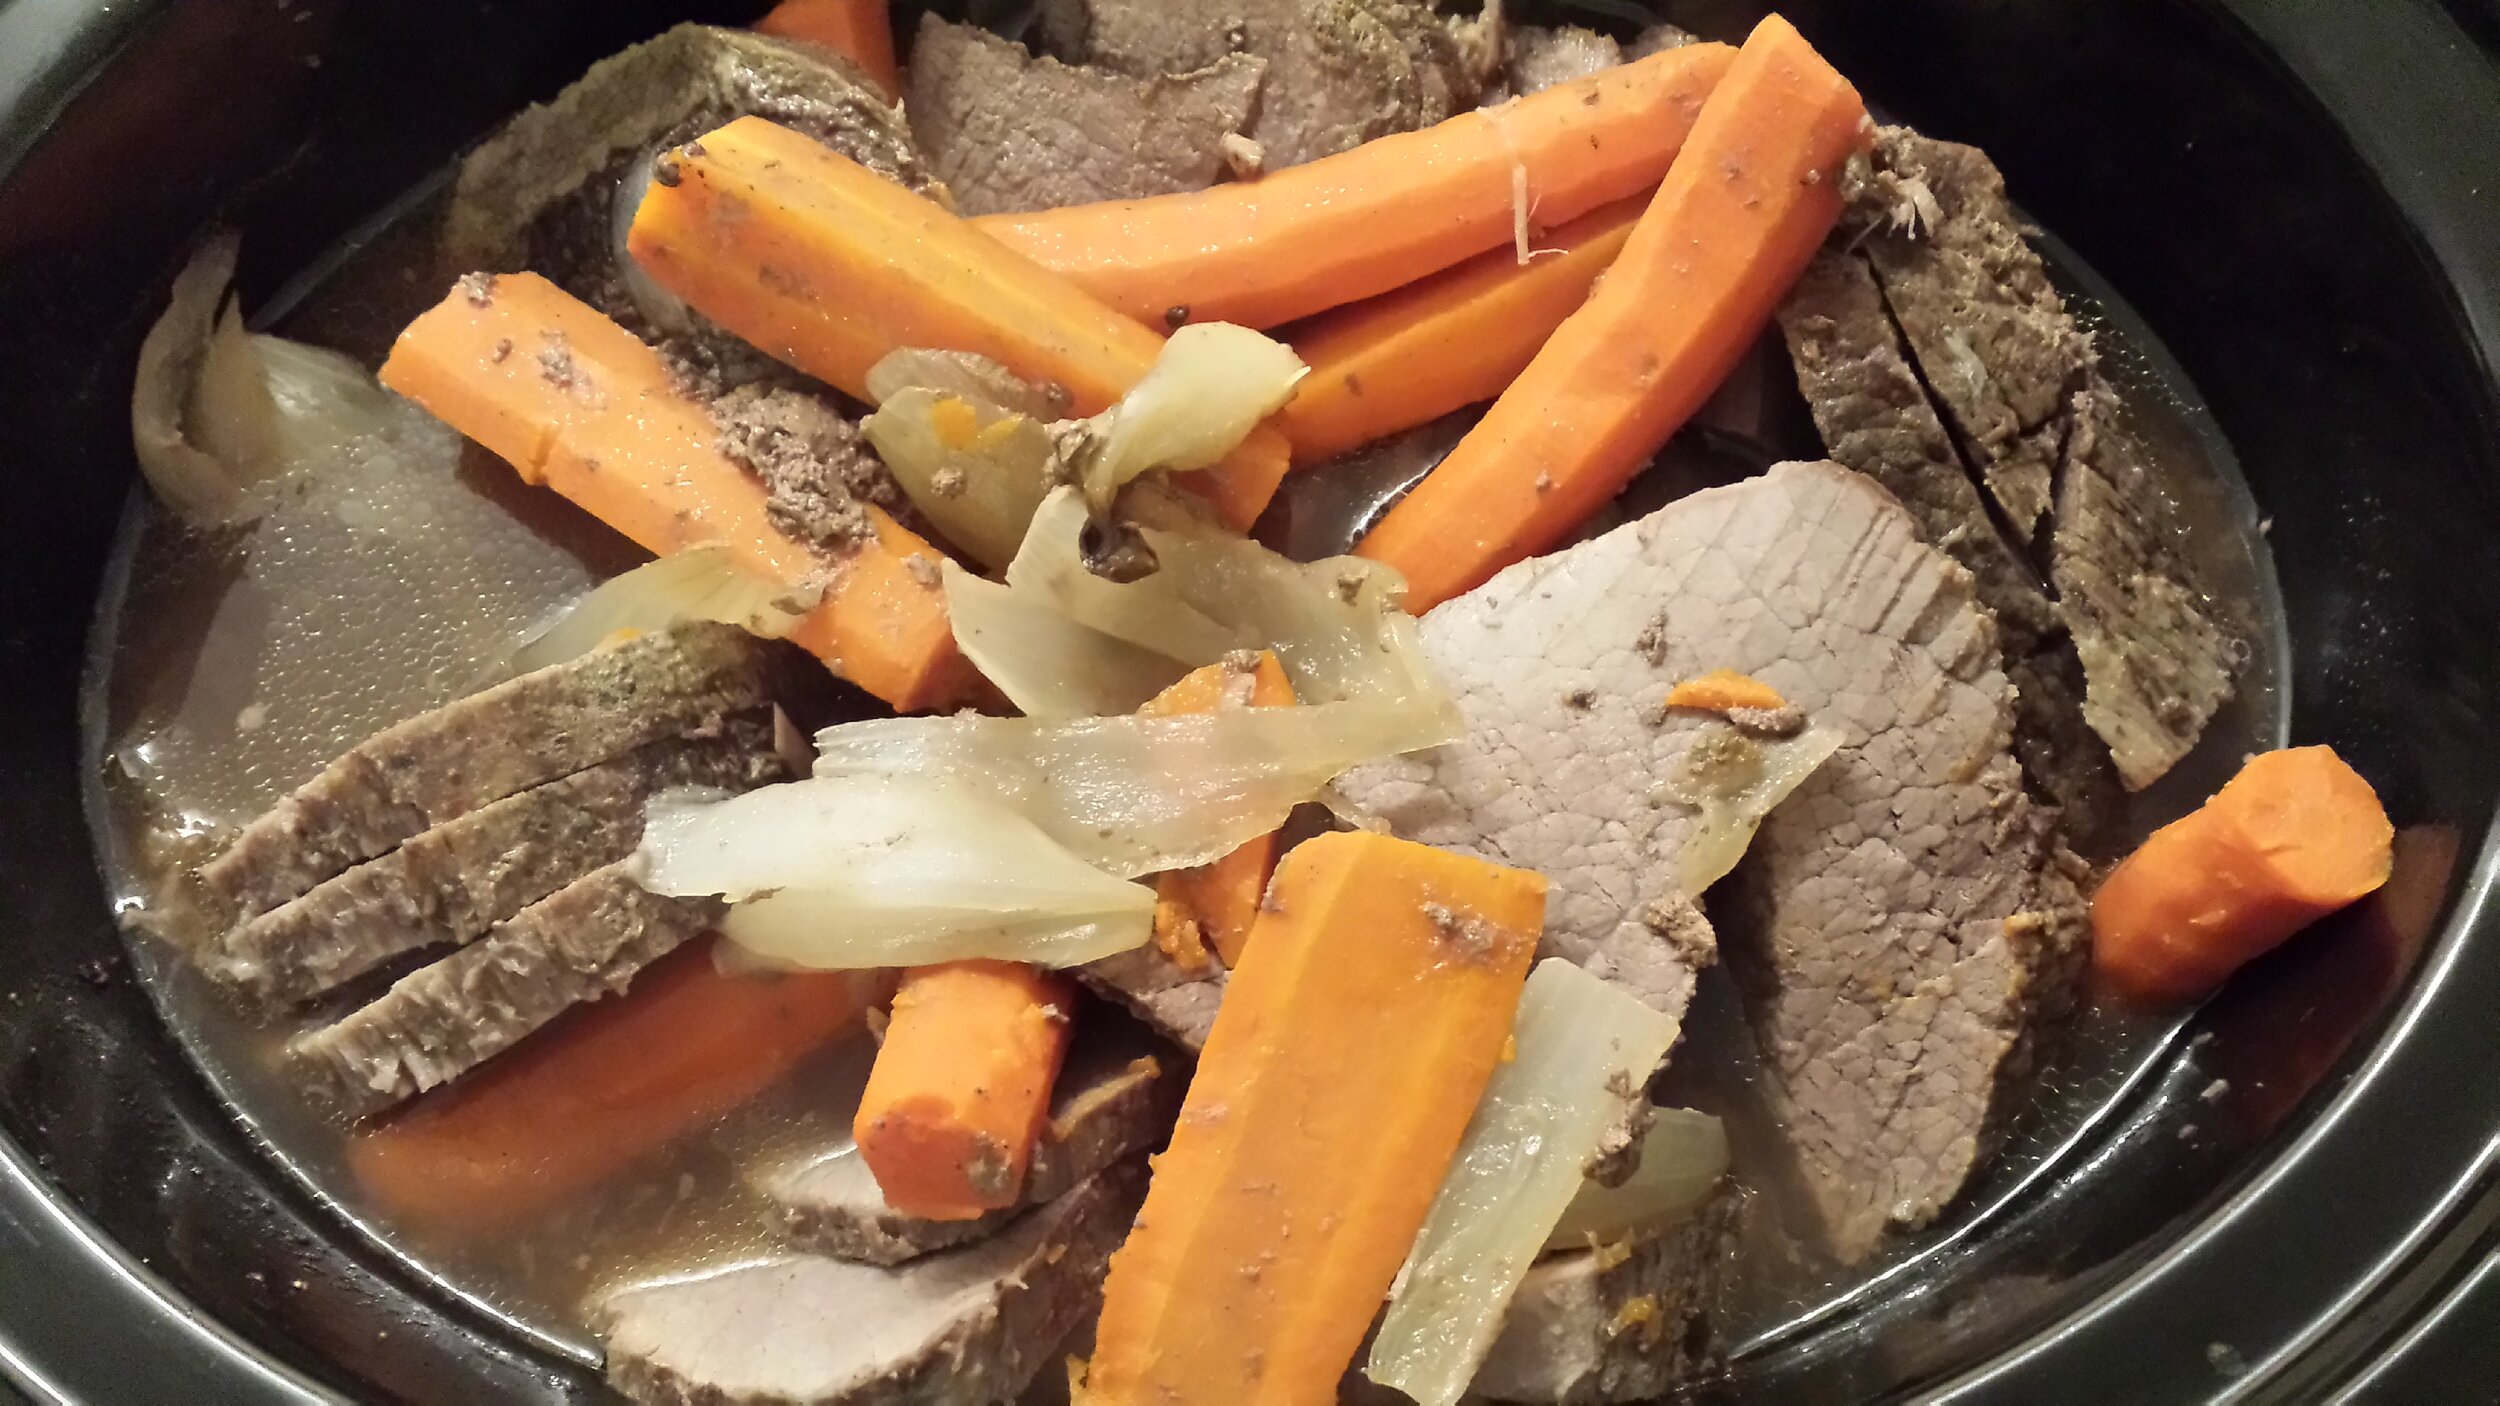
Slow cooker beef.
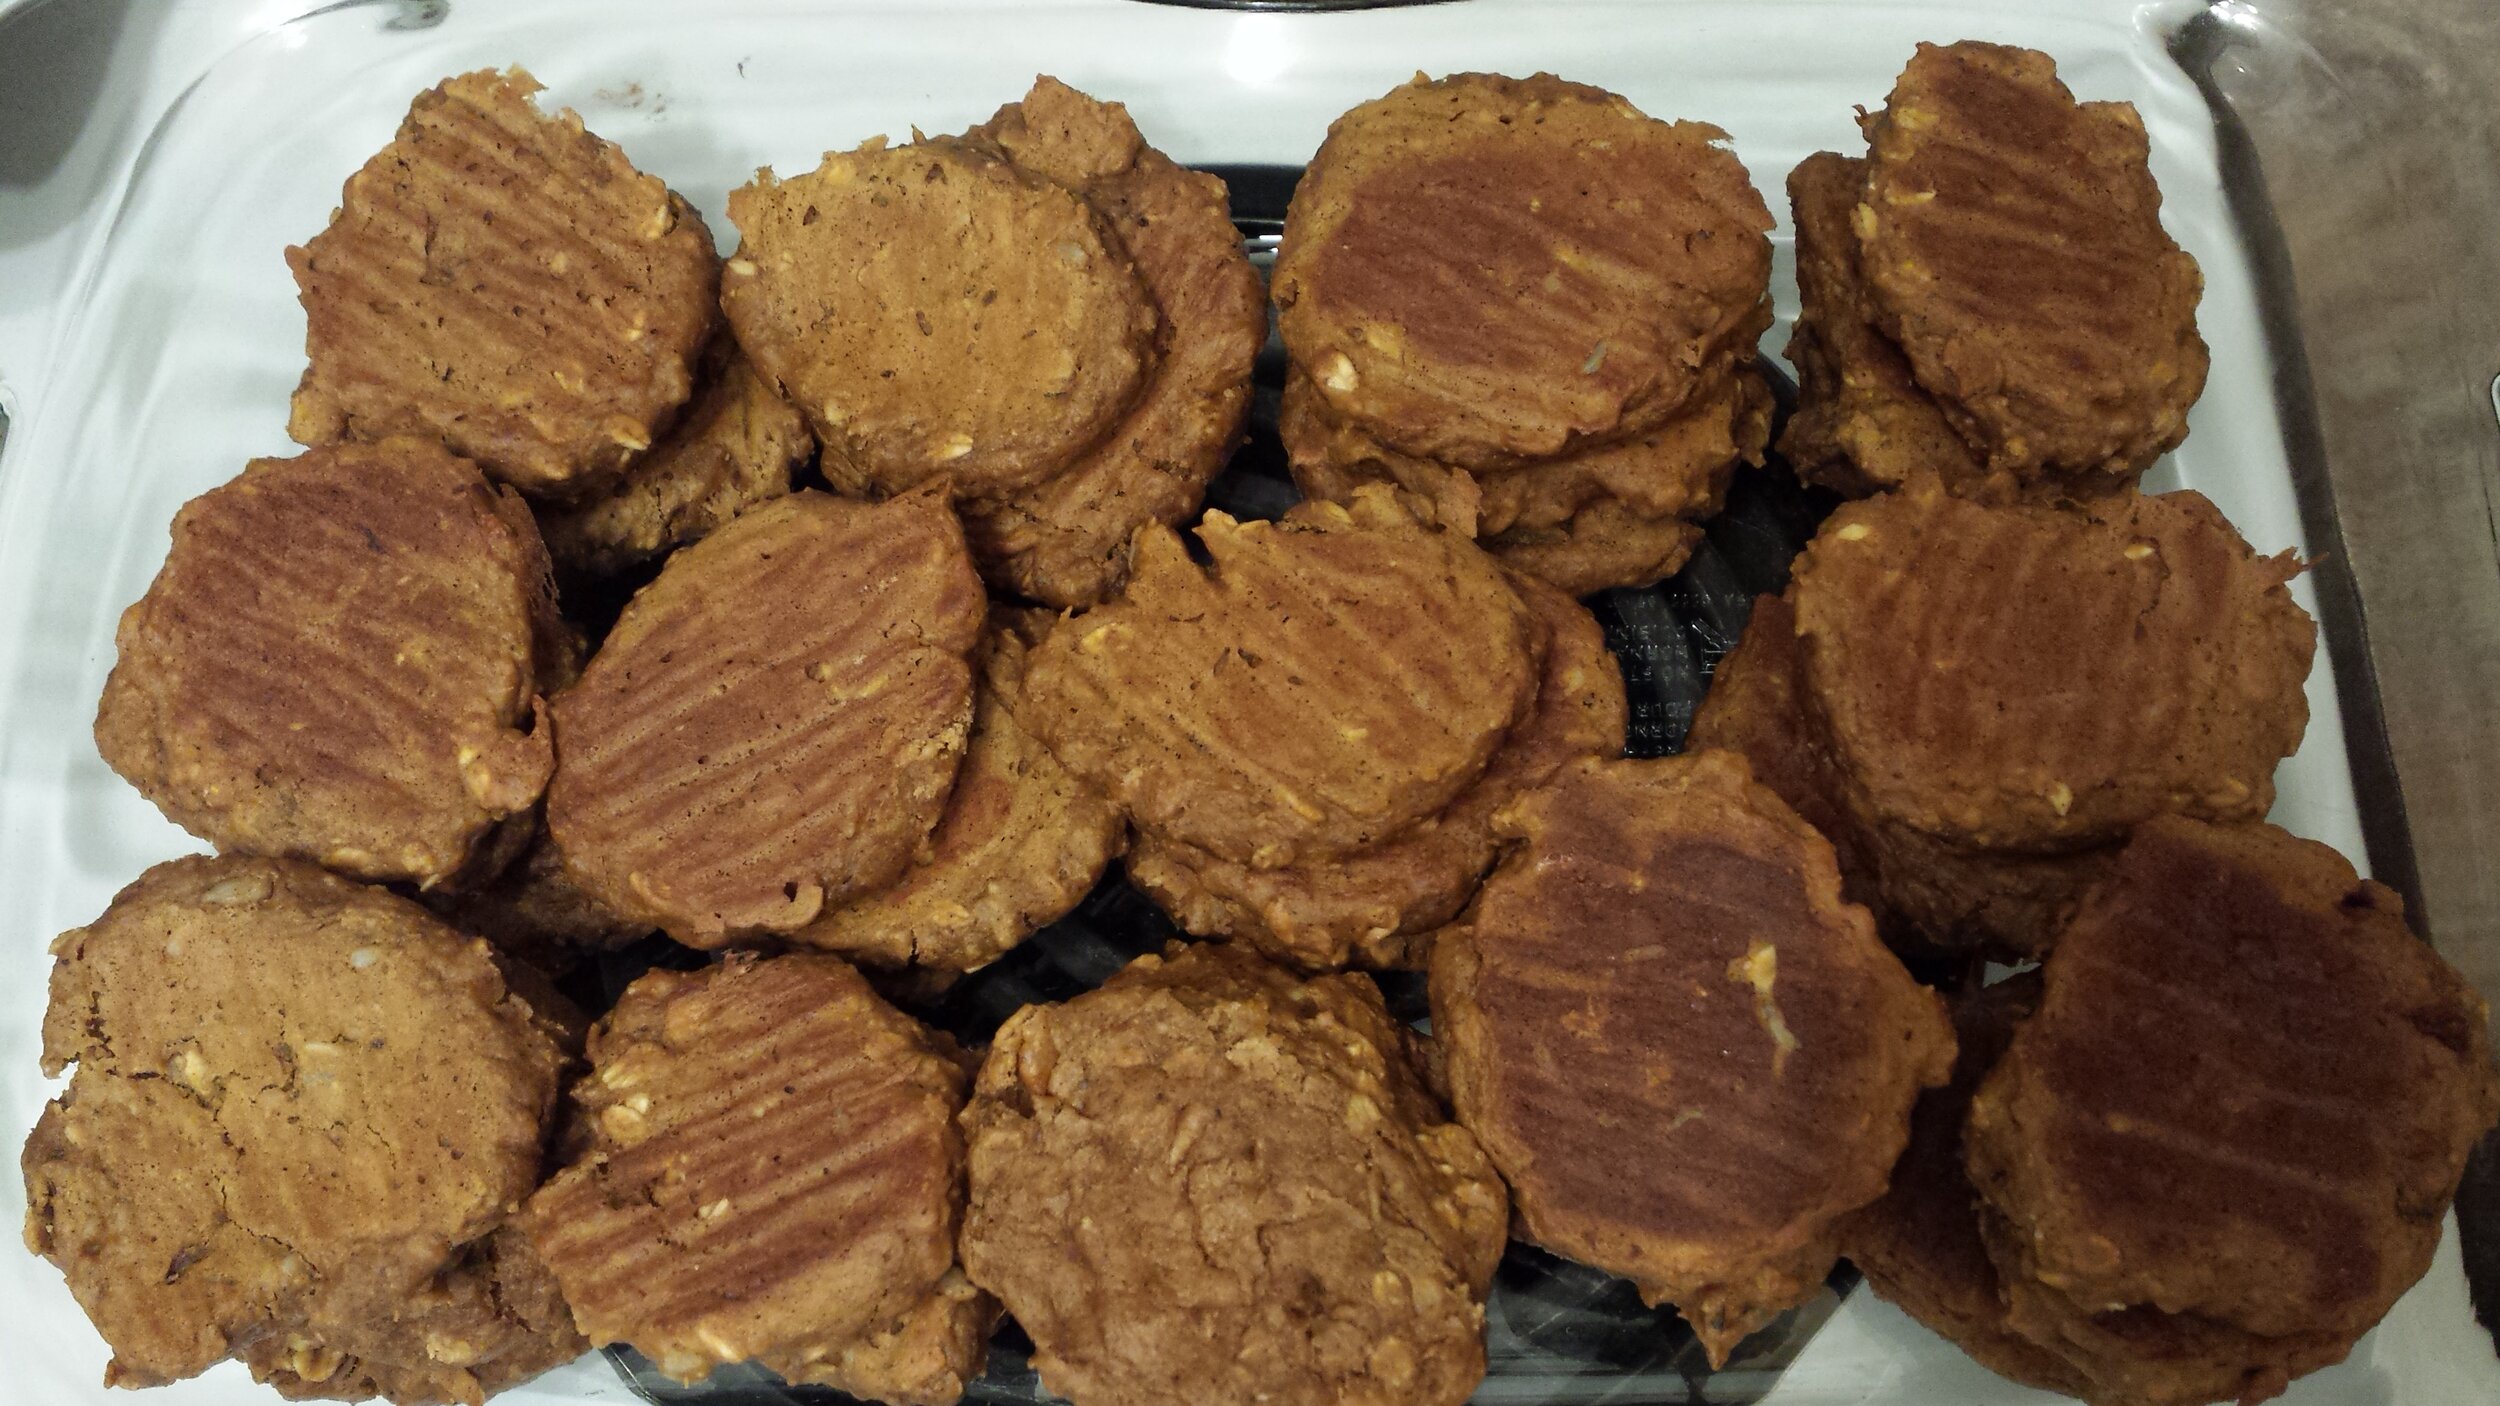
Sweet potato cookies.
I hope my perspective on food-prep was useful for you! If it was please leave a comment and share this with others!